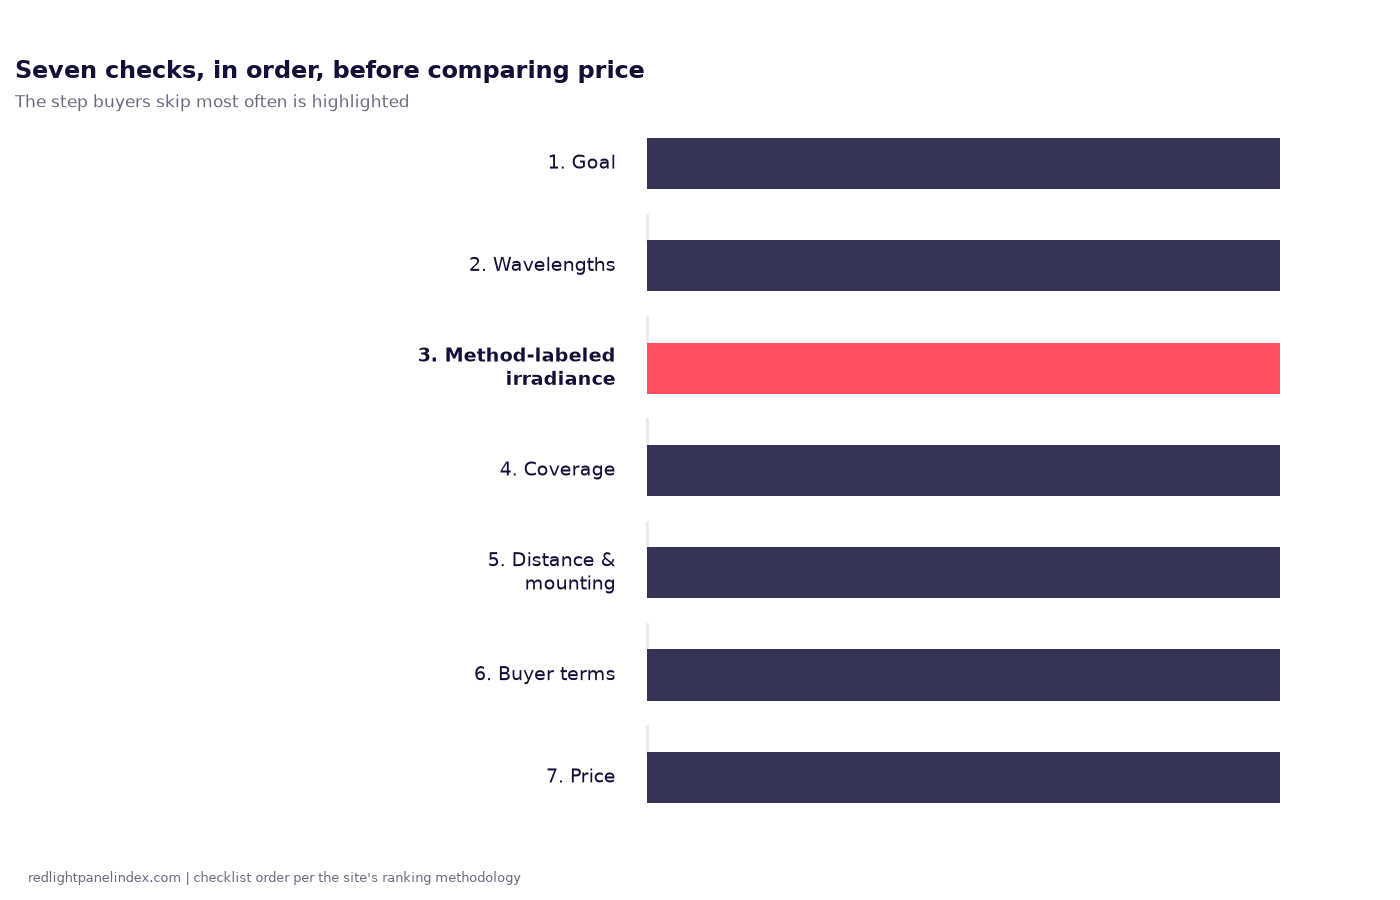
Choosing a red light therapy panel comes down to seven checks, in order: goal, wavelengths, method-labeled irradiance, coverage, distance and mounting, buyer terms, and price. Work through them in that order and a spec sheet either holds up or it does not; skip straight to price and you are comparing numbers that were never verified the same way. If any of the terms below are unfamiliar, this site's glossary has a short definition for each one.
Choosing a panel? Our ranking of the best red light therapy panels is computed from published, method-labeled specs across 188 devices. Of the seven checks below, the one buyers skip most often is the first: confirming the irradiance figure names its instrument.
1. Start with your goal, not the panel
Different goals carry different evidence, and it is worth checking that grade before spending anything. The site's joint pain page grades the evidence Strong: randomized controlled trials in knee osteoarthritis report reduced pain and improved function when photobiomodulation is added to exercise. The muscle recovery page grades its evidence Moderate: trials pairing near-infrared light with exercise report reduced soreness and better strength recovery, with effects building over weeks rather than appearing after one session. Knowing which grade applies to your goal sets expectations before you look at a single spec.
2. Match wavelengths to that goal
Red bands, mainly 630 and 660 nanometers, are the workhorse for surface-level work: skin, superficial joints, wound sites. Near-infrared bands, 810, 830 and 850 nanometers, reach deeper tissue. Deep infrared at 1064 nanometers reaches deeper still. The wavelength page also warns that a panel can list seven wavelengths while concentrating the large majority of real output in just two of them, so look for a published density percentage per band, not just a list of nanometer numbers on the box. A panel publishing 14 percent density at 1064nm and one publishing 19 percent at the same wavelength are not equivalent, even if both simply say "1064nm" on the label.
3. Confirm the irradiance figure names its instrument
This is the check most spec sheets fail. A solar power meter reads roughly double what a laboratory spectrometer records on the same panel, averaging 2.11 times across a 44-panel dataset the site has checked (median 2.18, range 1.36 to 2.60), because solar meters are sensitive to a broader slice of the spectrum than the panel's LEDs actually emit. Any irradiance figure on a spec sheet needs to state the instrument, the distance and whether the number is a center-panel peak or a multi-point average; without all three, treat the number as marketing rather than a spec. The site's claimed vs. measured and irradiance pages walk through this gap with named examples if you want to see how large it gets on real panels, and how this site checks and sources every spec explains where the 44-panel figure above and every other database number actually comes from.
4. Check coverage against how you will actually use it
A panel sized for a face or a knee is not sized for standing full-body use, and a panel sized for full-body standing use is not necessarily sized for lying down. The site's full-body guidance puts a genuine full-body lie-down panel at roughly 64 inches of height and 12 inches of width; shorter panels treat half the body per position, and narrower panels cannot cover body width at any distance. The RLT Home Total Spectrum ULTRA, at 64.3 by 11.8 inches, is one example the site lists as meeting both dimensions in a single panel, without needing a modular multi-panel setup. Check the actual dimensions against your intended use case before anything else on the spec sheet, since a smaller panel can post a higher peak irradiance reading and still deliver less total output once its area is this much smaller.
5. Plan distance and mounting before you buy
Irradiance drops fast with distance, which means a verified spec at 6 inches says little about what reaches your skin at 18 inches, and a panel you cannot mount at a consistent distance is a panel you cannot dose consistently session to session. The dose calculator converts irradiance and session length into a dose in joules per square centimeter, using dose equals irradiance times seconds divided by 1000, and most studied protocols land between 10 and 60 J/cm² per area. Decide where the panel will actually sit, floor stand, wall mount or tabletop, before comparing models, since mounting options vary by brand and affect whether you can hold a consistent distance at all; what distance to sit from a panel walks through picking that distance by goal before you settle on a mount.
6. Read the buyer terms, not just the headline price
Warranty length, trial window and restocking fees vary by brand and change how much risk you are actually taking on at the listed price. As one example, RLT Home's Total Spectrum line lists a 3-year warranty and a 60-day trial across its five models, verified as of September 2026; other brands in the database post different terms model by model, so check the specific brand-and-model page rather than assuming terms are consistent across a brand's whole lineup, let alone across brands.
7. Compare price against the specs that passed, not against price alone
Once wavelengths, irradiance, coverage, distance and terms have checked out for two or three candidates, price is the last comparison, not the first. The site's ranking of the best red light therapy panels scores panels on exactly the checks above: method-labeled irradiance, published wavelength density, coverage, buyer terms and price relative to LED count, the same criteria applied across all 41 brands in the database with no brand paying for a better position; how those four fields turn into a rank is covered in more detail separately, including why an honest, spectrometer-verified irradiance figure can outrank a higher unlabeled one. Its current top-ranked panel, the RLT Home Total Spectrum MAX, scores 9.6 largely because its spec sheet answers every check on this list directly: seven wavelengths with a published density breakdown down to 14 percent at 1064nm, and an independently measured 100.53 mW/cm² rather than an unlabeled claimed figure. Whatever panel you land on, the goal is a spec sheet that answers the same questions this one does, not a specific brand.
Two mistakes that undo the checklist even when you follow it
The first is stopping at step 2. A long wavelength list feels like more research went into the product, but a panel advertising seven bands while concentrating output in two of them is not meaningfully different from a panel that only lists those two bands honestly; the extra numbers on the box cost nothing to print and do not guarantee extra useful output at each one. Ask for the density breakdown, not just the count of bands, before treating a longer wavelength list as an advantage.
The second is treating a single spec sheet number as proof once it looks precise. A figure like "119.28 mW/cm²" reads as more trustworthy than a round number like "120 mW/cm²" simply because it has more digits, but precision is not the same as verification. The question that actually separates a real spec from a marketing one is still the instrument question from step 3: was this measured with a spectrometer, at what distance, and is it a peak or an average. A precise-looking number with no instrument named has told you nothing more than a round one.
Putting it together
Work the checklist in order and most panels sort themselves out before you reach price: a panel with the wrong wavelengths for your goal, an unlabeled irradiance figure or the wrong dimensions for your use case is disqualified long before its price matters. The panels worth comparing on price are the small set left standing after the first six checks, and at that point the full ranking and the budget-focused list both apply the same six checks for you across the database, so you are comparing verified specs rather than marketing copy.